VARA FM is an alternative to Packet and Pactor. Download the VARA FM v4.x software. Once you download the archived file, open it, and extract the setup file.
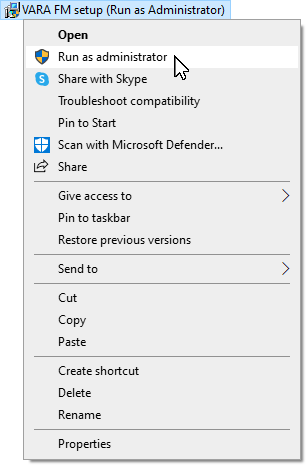
Locate the VARA FM setup file and right-click on the file and click Run as administrator.
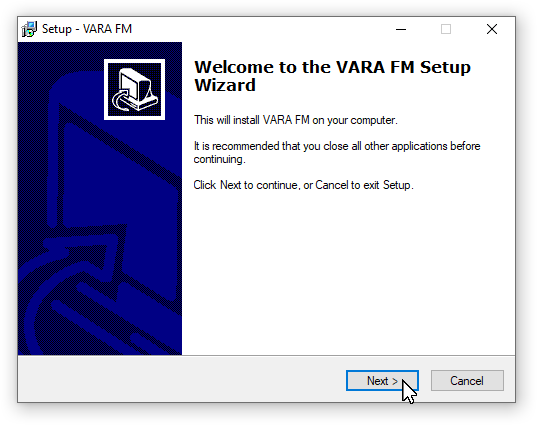
On the Welcome screen, click the Next button.
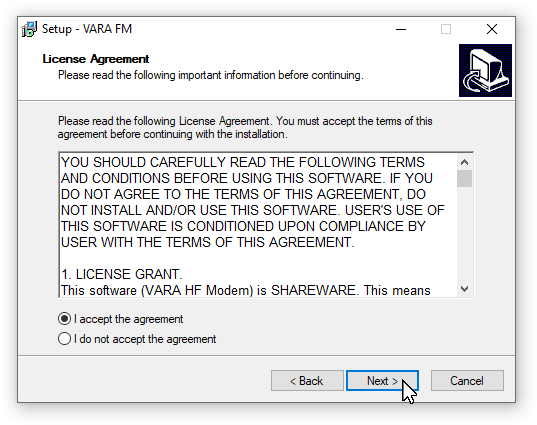
Click the radio button beside I accept the agreement and click the Next button.
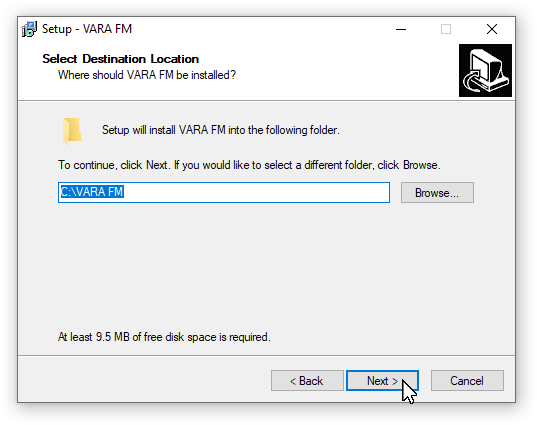
Leave the destination location the default and click the Next button.
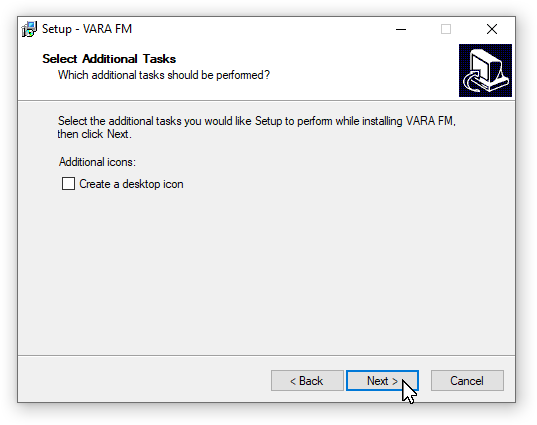
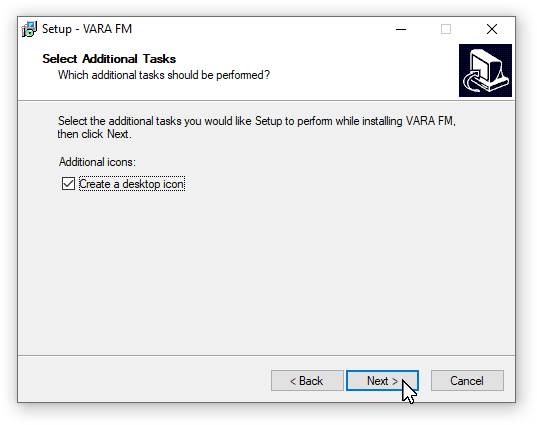
You have the option of having a desktop icon or not, then click the Next button.
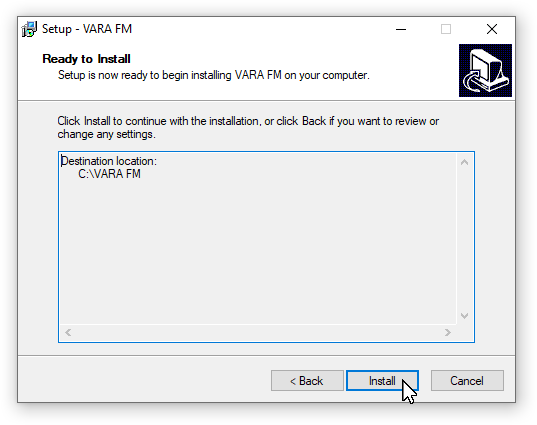
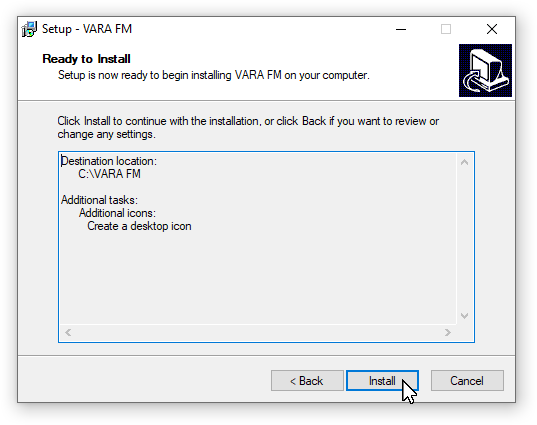
Click the Install button.
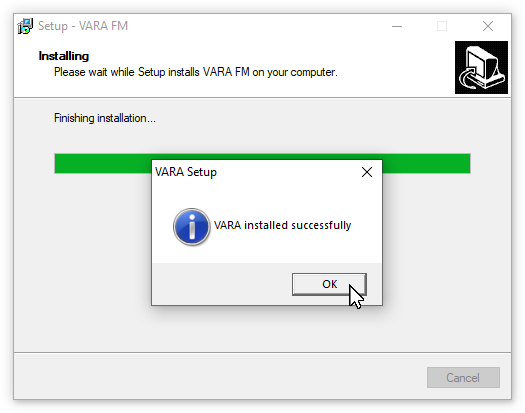
When the installation is successful, click the OK button.
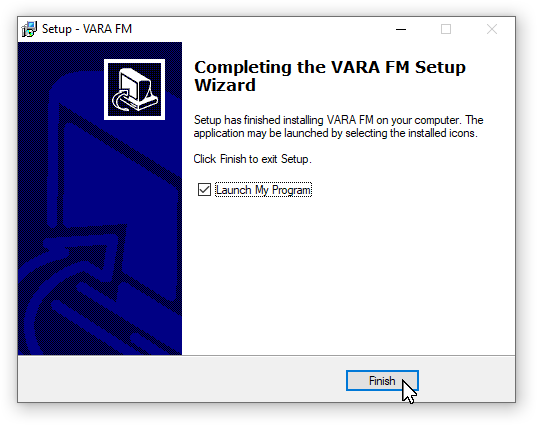
Click the Finish button to exit the installation.
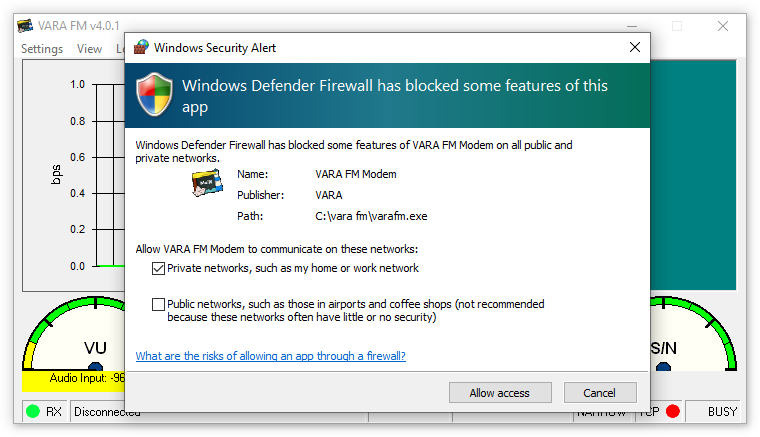
A firewall message will appear the first time the program runs. Click the Allow access button.
Click Upgrade on the menu.
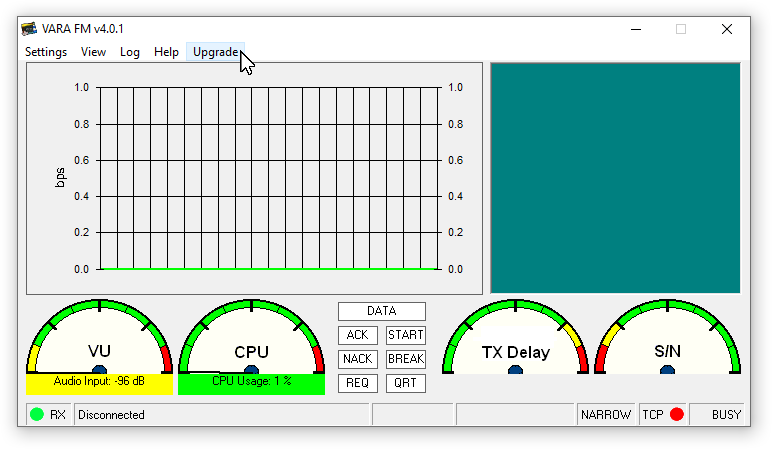
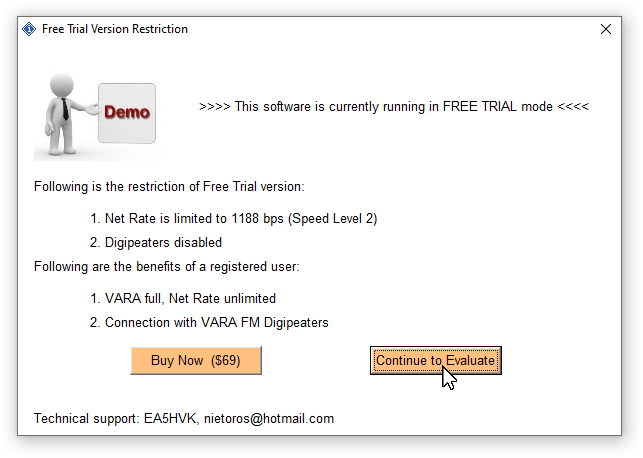
VARA FM and VARA HF are both shareware programs. Please consider purchasing a license for a one-time fee to get the advanced features and to support the developer, Jose Alberto Nieto Ros, EA5HVK. The license is for both VARA FM and VARA HF.
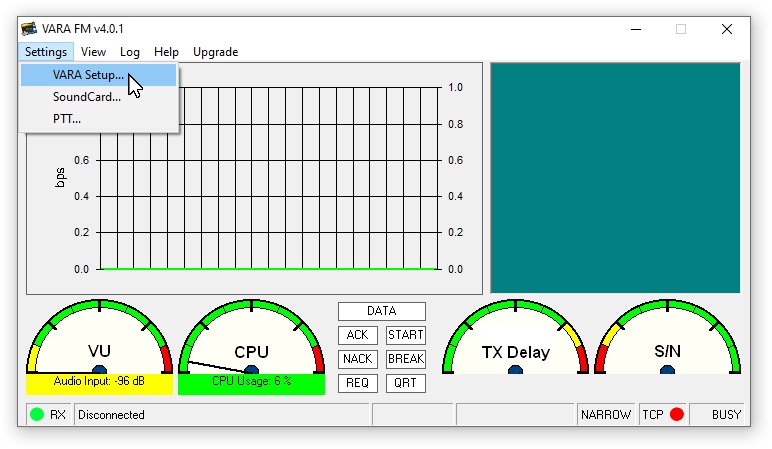
Click VARA Setup under the Settings menu.
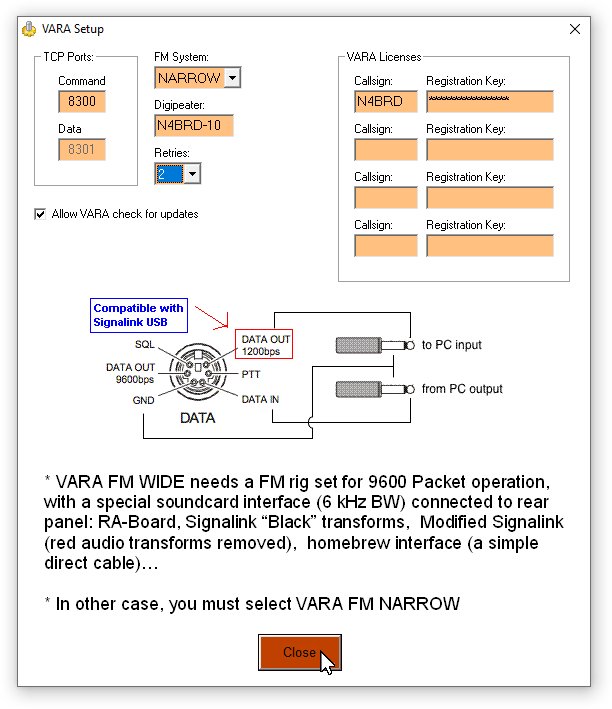
If you have a Registration Key, type it in the Registration Key field and your callsign in the Callsign field. Along with getting faster transfer speeds with a registration key, you also have the ability to set up your station as a digipeater[1]. If you would like your station to be a part of the MOCARS VARA FM Digipeater Network, type your CALLSIGN-## in the Digipeater field. Click the Close button.
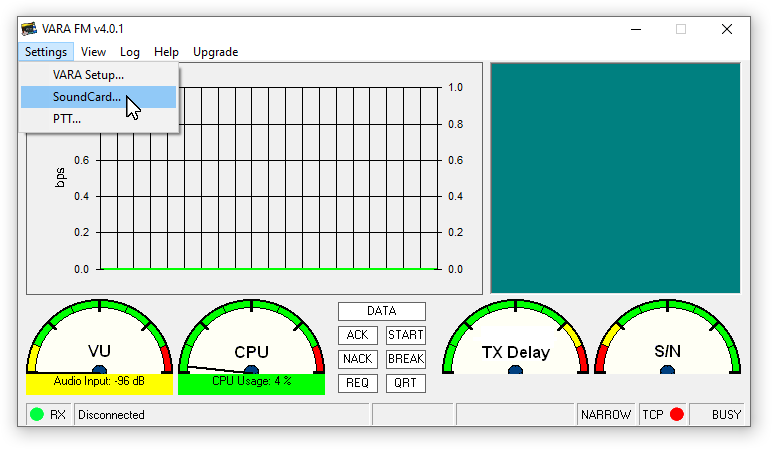
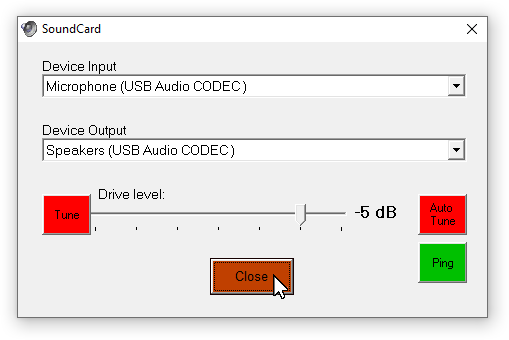
Click Sound Card under the Settings menu.
Select the correct soundcard for both Input and Output devices. Click the Close button.
VARA FM is now configured. You can now close the program.
[1] – A digipeater (digital repeater) listens for data signals addressed to a programmed digipeater callsign. Once received, the digipeater retransmits the original received data signal out extending the range of the originating station’s data signal.