Once you have downloaded and installed Fldigi, Flmsg, and Flwrap you then need to configure the programs.
Configuring Fldigi
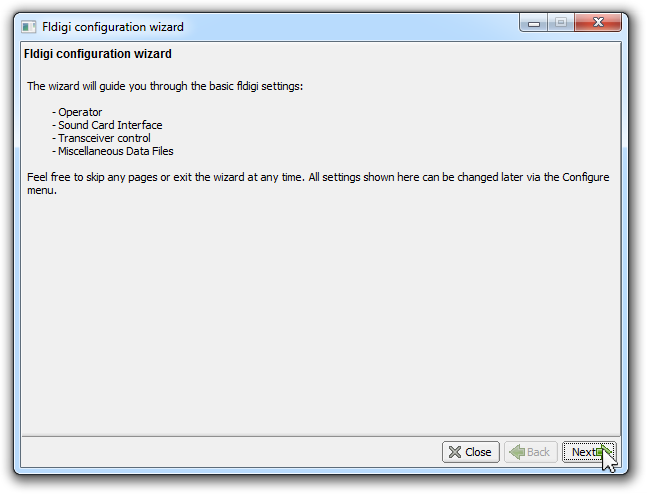
Start Fldigi and the Configuration Wizard will appear if this is the first time running the program. Click the Next button.
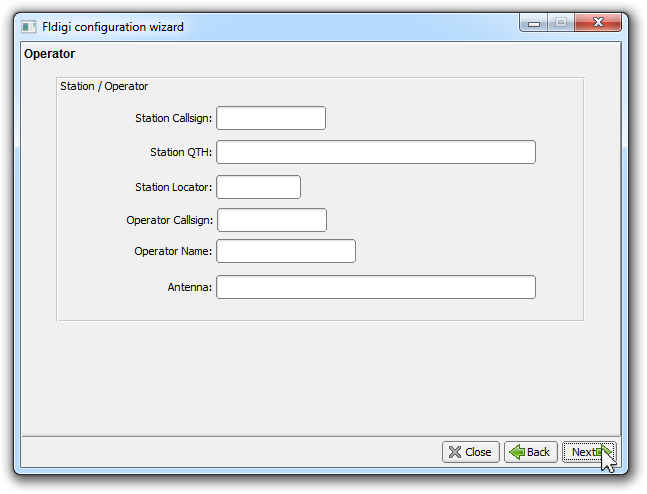
Fill in the fields with the appropriate information and click the Next button.
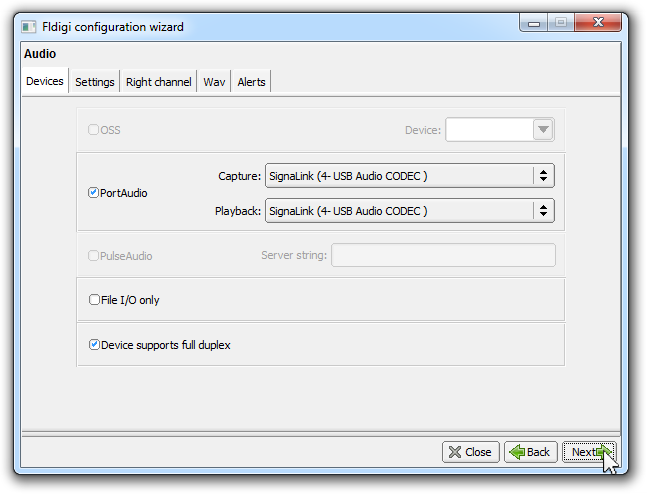
Now you need to select your sound card to use with Fldigi. Click the PortAudio checkbox and select the sound card from the list. If you are using a Tigertronics USB SignaLink, select USB Audio CODEC.
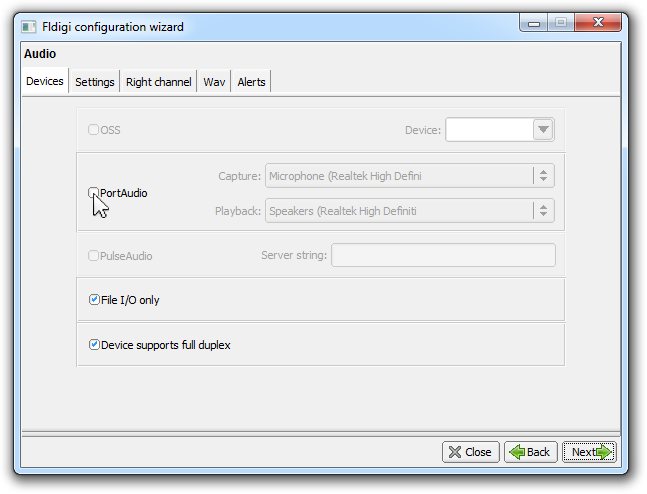
Once you have the sound card selected, click the Next button.
If you are using a HF/VHF/UHF all-in-one radio, then you can configure the rig control. Once done, click the Next button.

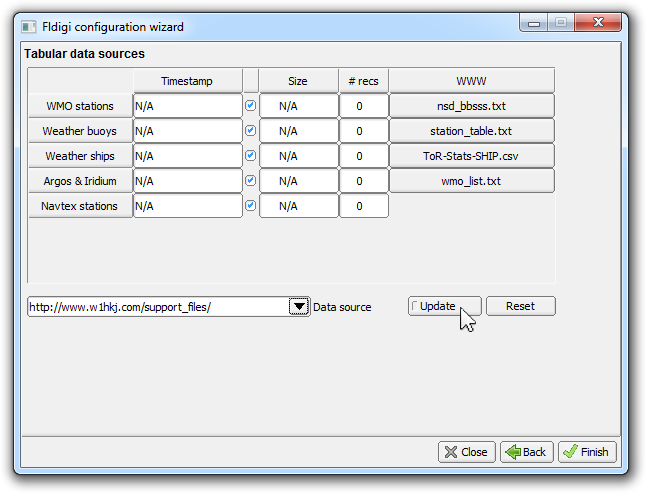
Click the Update button to update the various data files.
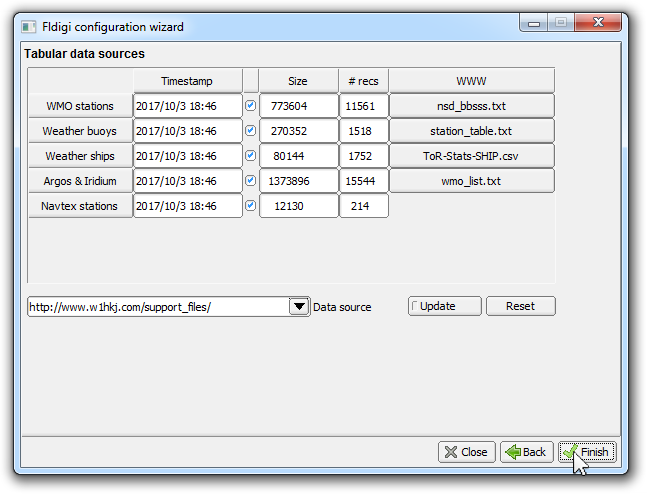
Once updated, click the Finish button.
The main program window will now be displayed.

If you are only using Fldigi for VHF/UHF traffic, you can hide the left side Channels display. Click View/Hide Channels under View on the menu.

Also, you can hide the upper Rig/Log Controls display. Click Rig/Log Controls > None under View on the menu.
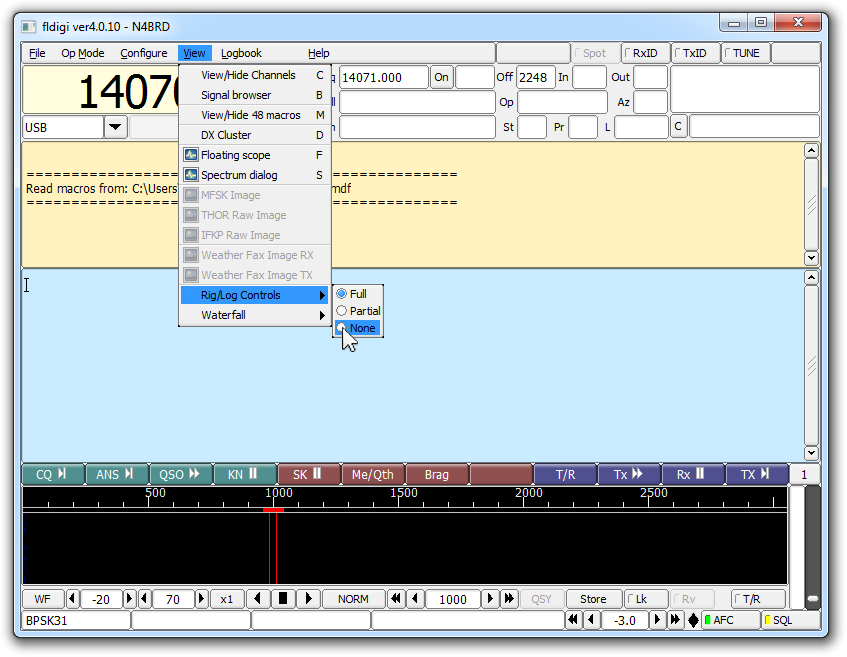
After hiding those portions of the display, you are presented a clean display for sending and receiving messages on the VHF/UHF bands.
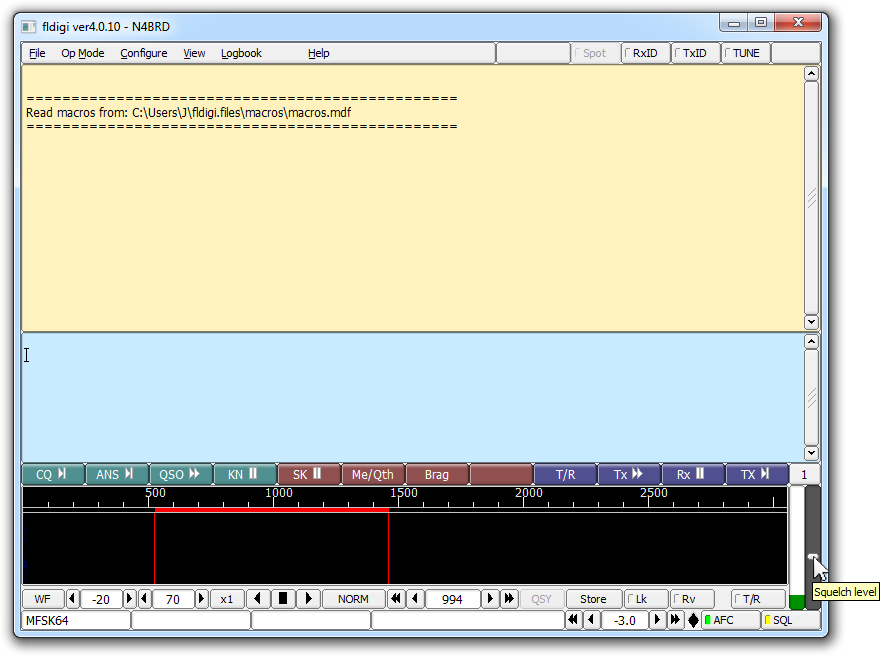
You can adjust the Squelch Level in the bottom right corner to prevent random characters from running across the receive pane. Slide the adjustment slightly above the green signal strength meter to the left.
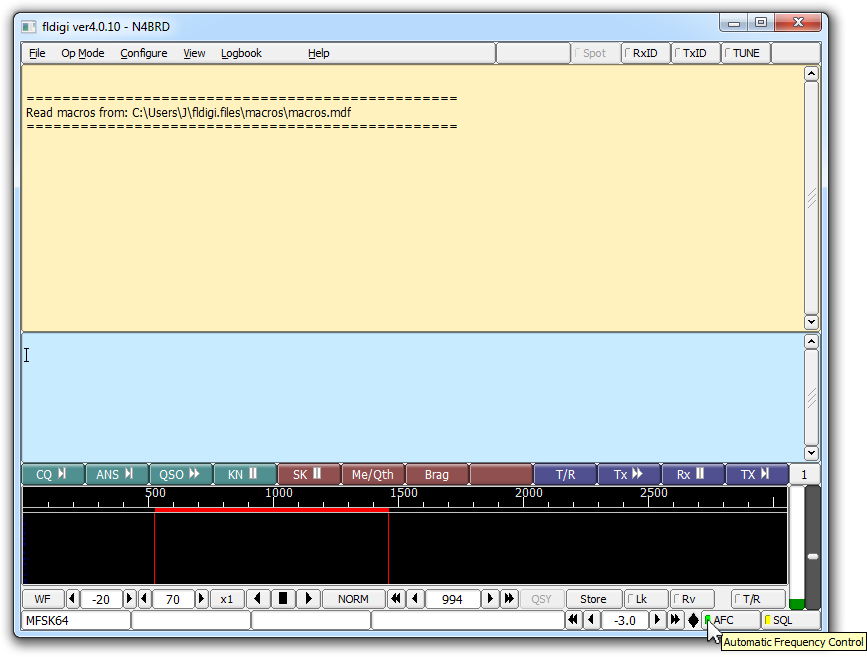
If the Automatic Frequency Control is on (Green indicator), click it the turn it off (Gray indicator).
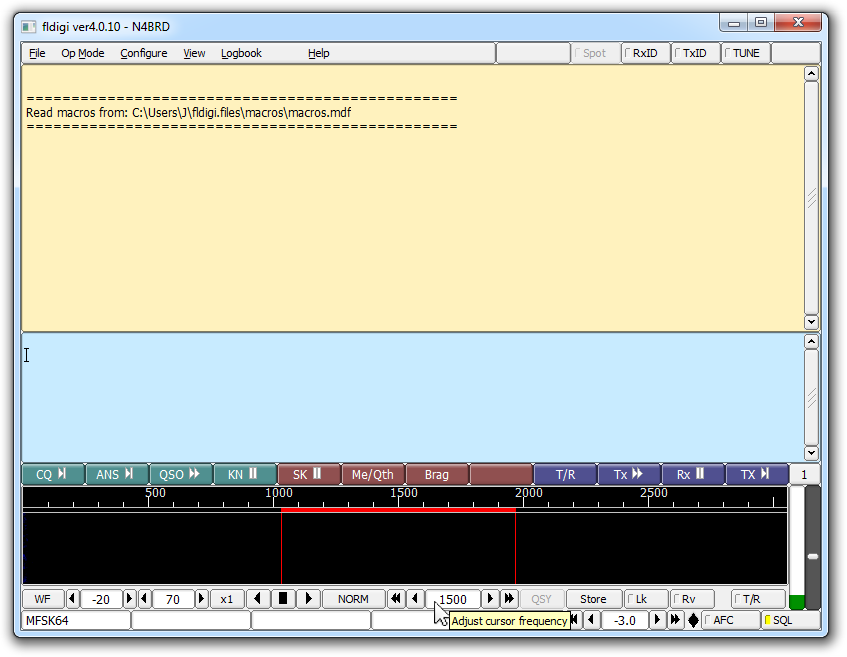
Set the Adjust Cursor Frequency to 1500.
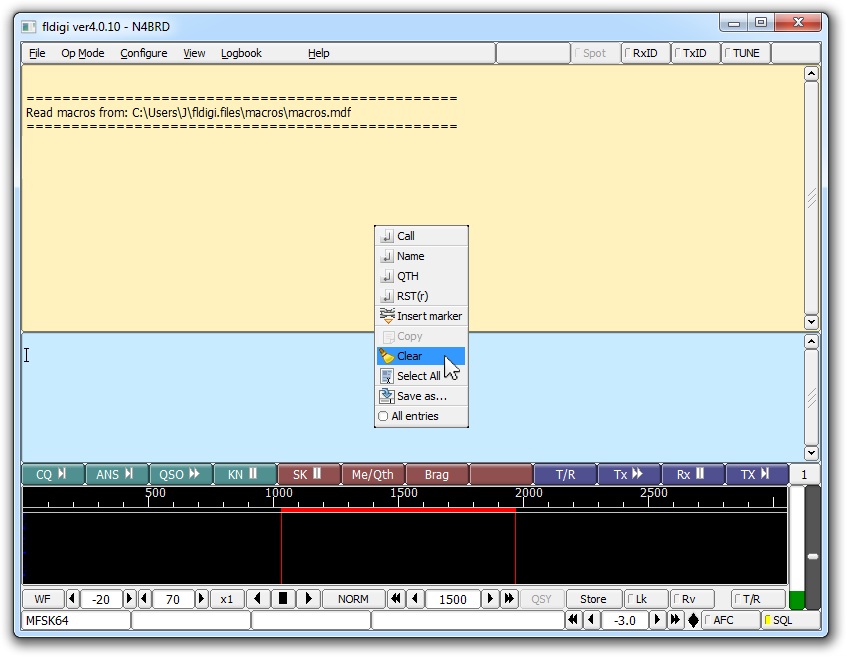
To clear the text in the receive pane, right-click in the pane and select Clear from the menu.
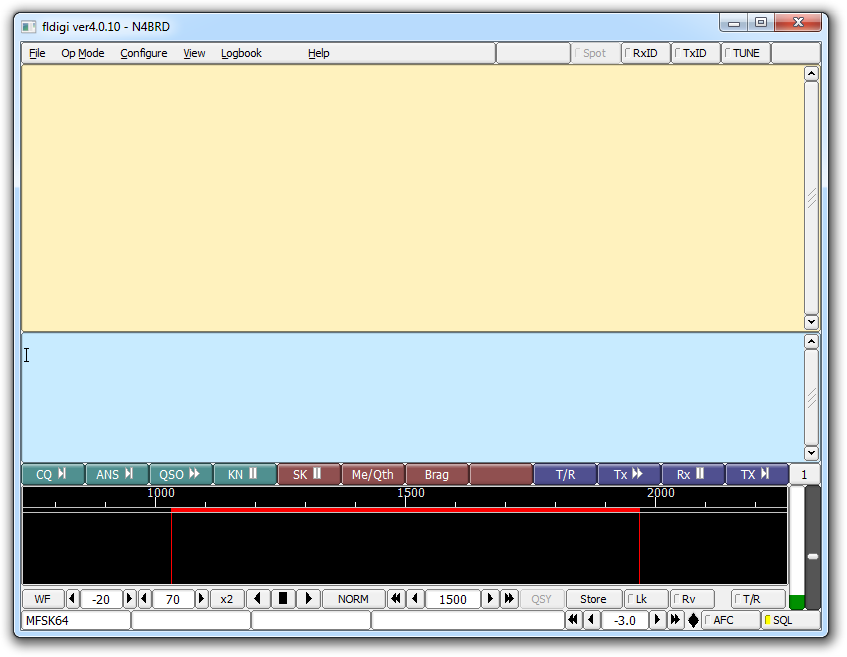
Optional: If you would like to zoom in on the waterfall display, click the Change Waterfall Scale button under the waterfall window.
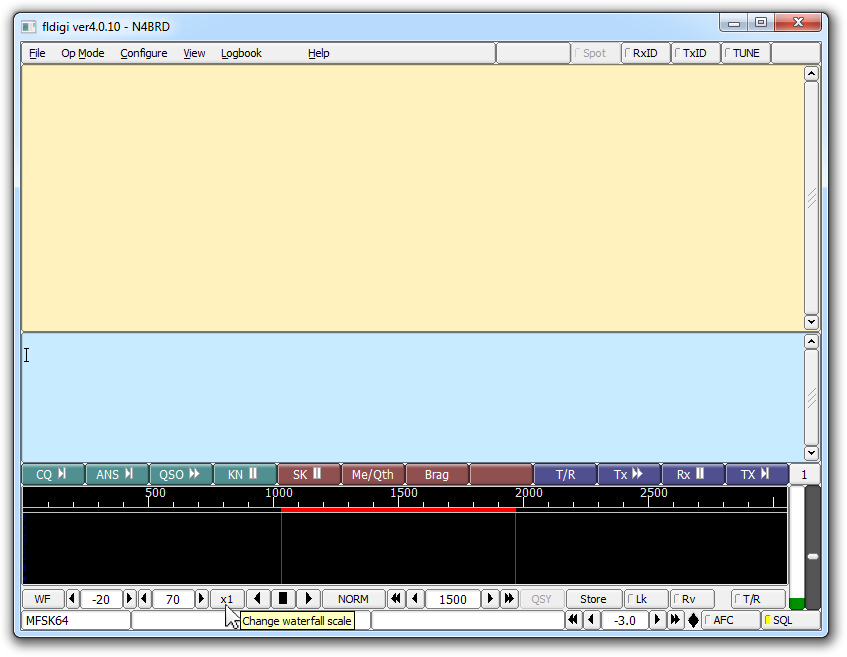
You can see the results for x2. Keep clicking to return to x1.
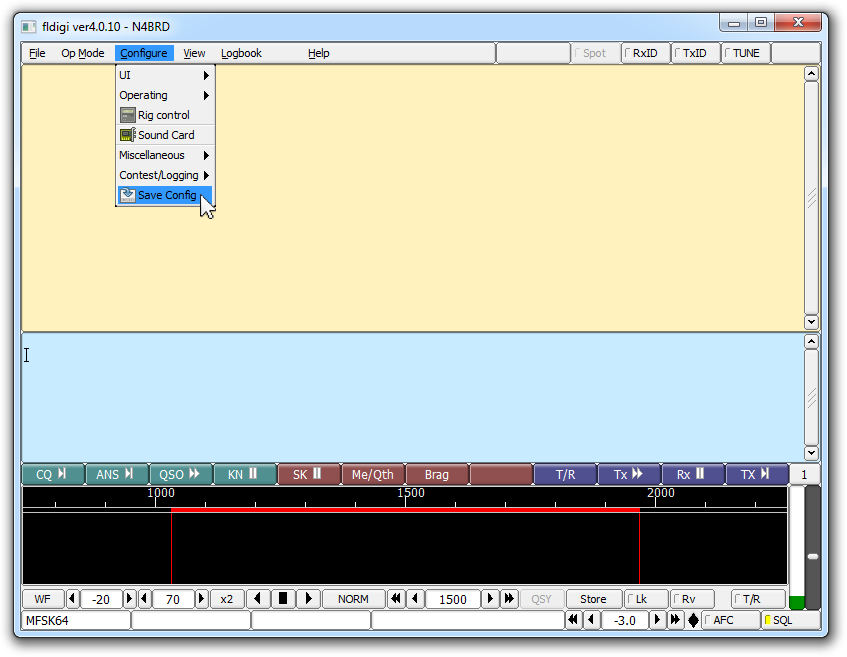
Now it is time to save the configuration. Click Save Config under Configure on the menu.
You are now ready to start using Fldigi.
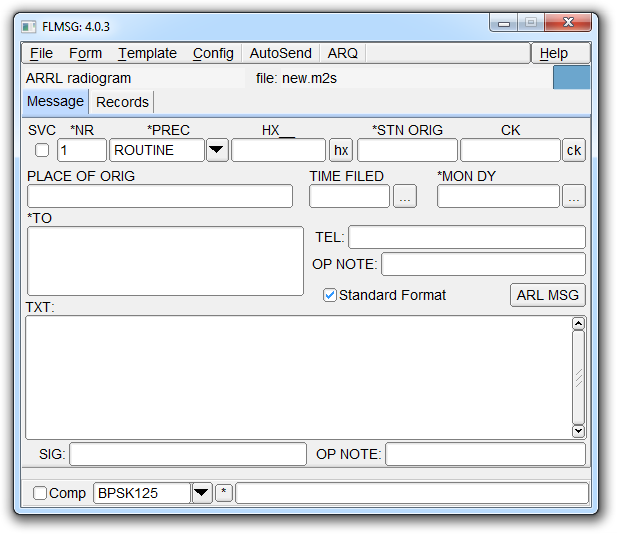
Configuring Flmsg
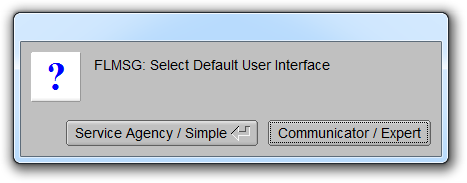
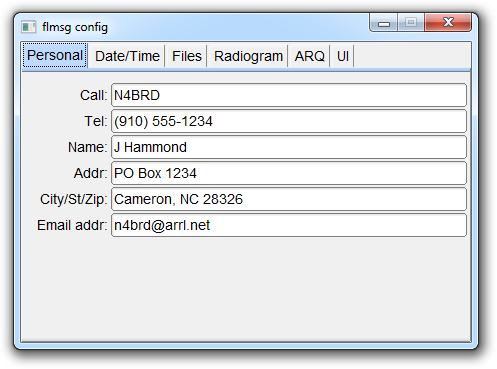
Start Flmsg and the Configuration Wizard will appear if this is the first time running the program. Click the Communicator/Expert button.
Fill in the fields with the appropriate information and click the Date/Time tab.
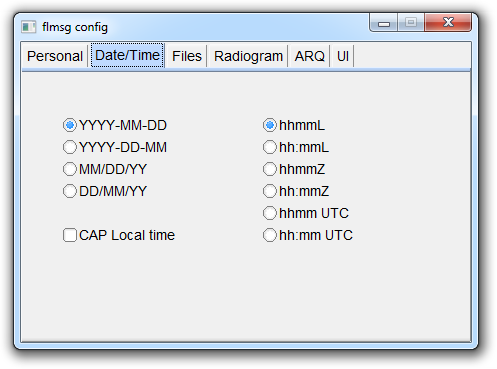
Select the two upper options and click the Files tab.
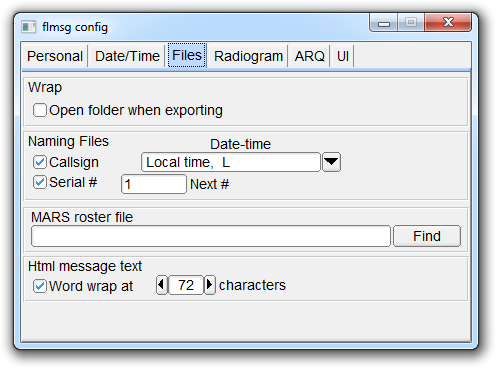
You can keep this tab set at the defaults. Click the Radiogram tab.
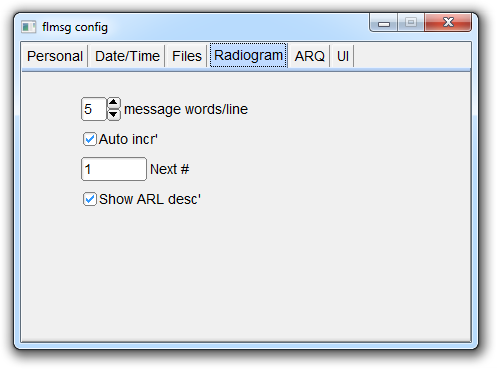
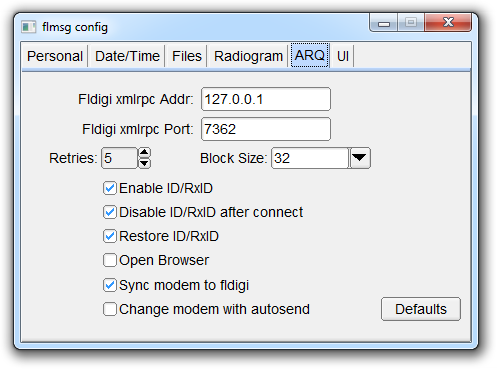
Again, the defaults are fine. Click the ARQ tab.
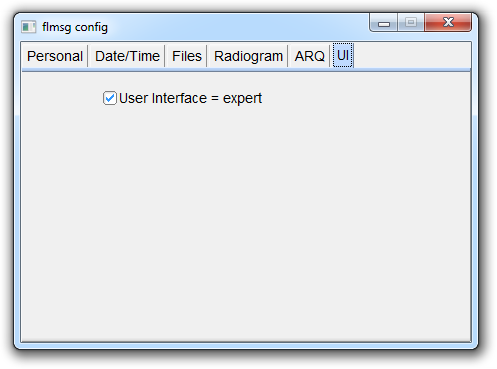
Match your setting to below and click the UI tab.
Last, keep the default setting and click the X to close the window.
You are now ready to start using Flmsg.